Linear Dimension
This document is no longer available beyond version 21. Information can now be found here: Linear Dimension for version 24
Parent page: Draftsman Objects
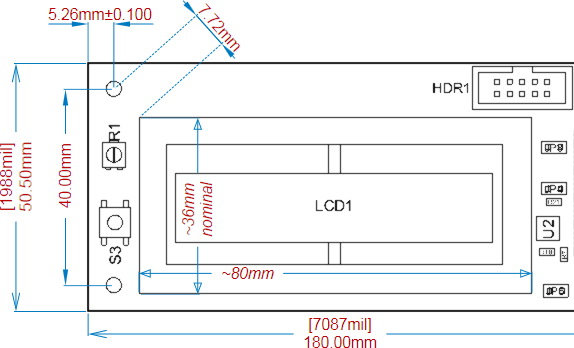
 A variety of Linear Dimensions applied to a Board Assembly View.
Summary
The Draftsman Linear Dimension is an automated dimensioning object that can be placed between the vertices or edges of Draftsman objects, including Board Views and component objects. This allows a dimension to be placed on the side of an object, between two points on an object, or between nominated sides/vertices of two different objects.
The visual style of the dimension lines and the configuration of the dimension text data can be set in the Properties panel when a placed Linear Dimension is selected.
Availability
The Linear Dimension feature is available when a graphic object, such as a Drawing View, has been placed in a Draftsman document. Its placement is accessed from the Draftsman Editor as follows:
- Choose the Place » Linear Dimension command from the main menus.
- Click the
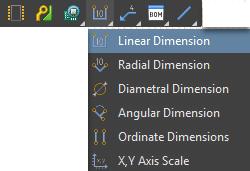
 button in the dimension objects drop-down on the Active Bar located at the top of the design space. Click and hold an Active Bar button to access other related commands. Once a command has been used, it will become the topmost item on that section of the Active Bar.

- Right-click in the drawing design space then select Place » Linear Dimension from the context menu.
- Click the
 entry in the dimensions menu (
 ) on the Drawing Annotations toolbar (View » Toolbars » Drawing Annotations to enable).
Placement
When the command is launched, the cursor will change to a crosshair, indicating Linear Dimension placement mode. As the cursor is hovered over objects, the object edges and vertex points will be highlighted as orange-colored lines and dots, respectively.
To dimension an object edge (side) the placement steps are:
- Click on a highlighted object edge to place the dimension reference point.
- Move the mouse and click to set the position of the dimension text and its associated extension lines.
To place a dimension between two object edges or vertices, the placement steps are:
- Click on a highlighted object edge or vertex point to place the dimension's first reference point.
- Click on another highlighted object edge/vertex to place the dimension's second reference point.
- Move the mouse and click to set the position of the dimension text and its associated extension lines.
To cancel the placement mode, press Esc or right-click in the design space.
Graphical Editing
The Linear Dimension can be graphically modified by selecting any part of its graphic representation and dragging the dimension text to a new X/Y location – its associated extension lines will adjust accordingly.
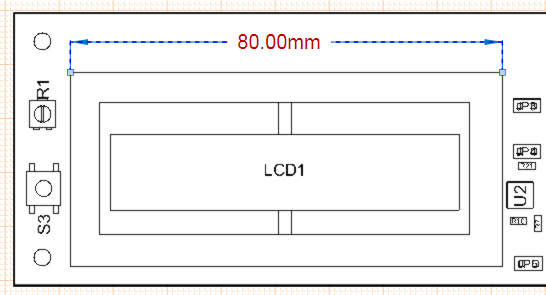
 Select and drag the dimension text to a new position.
An existing reference point in a placed Linear Dimension can be moved to a new location through a drag and drop action. When moved, the reference node binds to the new vertex/edge/center and causes the Linear Dimension data (the displayed measurement) to update accordingly, as shown in this animated demonstration.
Non-Graphical Editing
Properties page: Linear Dimension Properties
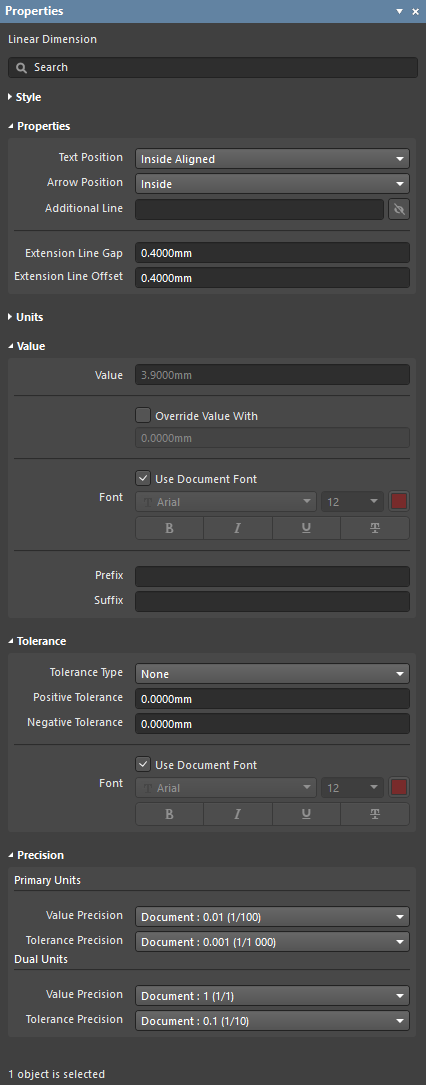
The non-graphical method of editing a Linear Dimension is available in the Draftsman Properties panel, which provides a wide range of editable properties and graphic options.
 The Properties panel when Linear Dimension is selected.
To open the Properties panel and access the properties of a placed Linear Dimension:
- After selecting the Linear Dimension object, select the Properties panel from the Panels button at the bottom right of the design space or select View » Panels » Properties from the main menus.
- Double-click on the Linear Dimension object in the design space.
- Right-click on the Linear Dimension then select Item Properties from the context menu.
If the Properties panel is already active, click on the Linear Dimension object to access its properties in the panel.
Editing Multiple Objects
The Properties panel supports multiple object editing, where the property settings that are identical in all currently selected objects can be modified.
